
RV delamination is a common issue that affects many fiberglass recreational vehicles over time. It happens when the outer fiberglass layer begins to separate from the underlying substrate, usually due to moisture intrusion, adhesive failure, or aging materials. If left untreated, delamination can spread, weaken the structure, and reduce the value of the RV. Understanding how to repair RV delamination properly can help restore both appearance and durability while preventing further damage.
Understanding What Causes RV Delamination
Before attempting to repair RV delamination, it is important to understand what causes it. Most cases begin with water infiltration. When moisture seeps into the wall structure through cracks, seals, or roof joints, it can weaken the adhesive that bonds the fiberglass skin to the internal layers. Over time, this causes the fiberglass surface to bubble, warp, or separate.
Heat and temperature changes can also contribute to delamination. As RVs are exposed to sun, rain, and fluctuating weather conditions, the materials expand and contract. This constant movement can gradually break down the adhesive bond.
Physical damage is another contributing factor. Impacts from road debris or minor accidents can create weak points in the exterior, allowing moisture to enter. Once the bonding process is compromised, delamination can begin and slowly spread across larger areas if not addressed.
Assessing the Extent of Delamination Damage
The first step in any effort to repair RV delamination is evaluating how severe the damage is. Light delamination may appear as small bubbles or soft spots on the exterior wall. In more advanced cases, large sections of the fiberglass may feel loose or visibly separated from the structure underneath.
A simple way to assess the damage is by gently pressing on the affected area. If the surface feels soft or flexes unnaturally, it indicates separation between layers. Tapping the surface can also help identify hollow sounds, which often signal delamination beneath the fiberglass.
It is important to determine whether the damage is localized or widespread. Small, isolated areas can often be repaired without major reconstruction, while extensive delamination may require panel replacement or professional intervention.
Step-by-Step Process to Repair RV Delamination
Once the damage has been assessed, the repair process can begin. The first step is to clean the affected area thoroughly. Dirt, wax, and debris must be removed to ensure proper adhesion of repair materials. A mild cleaner and water are typically used for this purpose, followed by complete drying of the surface.
After cleaning, small holes are often drilled into the delaminated area. These holes allow adhesive to be injected beneath the fiberglass layer. Special RV repair adhesives or epoxy resins are commonly used for this step. The adhesive is carefully injected to fill the void between the fiberglass and the substrate.
Once the adhesive is applied, pressure must be used to rebond the layers. This can be done using clamps, weighted boards, or vacuum pressure systems depending on the size and location of the damage. The goal is to ensure even contact between the layers while the adhesive cures.
Curing time is essential in the repair process. The adhesive must be left undisturbed for the recommended period to achieve a strong bond. Rushing this step can weaken the repair and lead to future delamination.
After the bonding process is complete, the surface may need to be smoothed and refinished. This can involve sanding uneven areas and applying sealant or paint to restore the exterior appearance. Proper finishing also helps protect the repaired area from future moisture intrusion.
Preventing Future RV Delamination Issues
Preventing RV delamination is just as important as learning how to repair it. Regular maintenance is the most effective way to avoid future problems. Inspecting seals around windows, doors, and roof joints helps identify potential entry points for water before damage occurs.
Keeping the RV properly sealed and waterproofed is essential. Applying protective coatings and resealing joints when needed can significantly reduce the risk of moisture penetration. Storage conditions also play a role, as keeping the RV covered or sheltered from extreme weather helps extend the lifespan of exterior materials.
Routine inspections allow early detection of weak spots or bubbling surfaces. Addressing these issues quickly can prevent small problems from developing into major structural damage. Consistent care ensures that the RV remains in good condition and reduces the likelihood of needing extensive repairs in the future.
When Professional Repair May Be Necessary
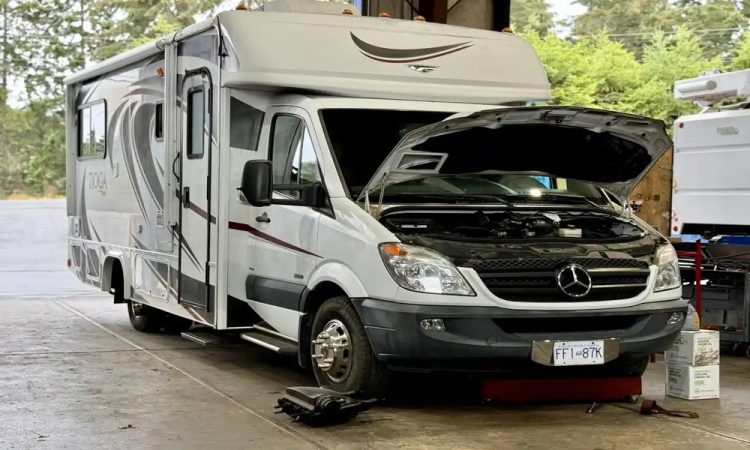
While many minor cases of delamination can be handled through DIY methods, severe damage often requires professional attention. If large sections of the RV wall are affected or if structural integrity is compromised, expert repair services may be the safest option.
Professionals have access to specialized tools and materials that ensure a stronger and more durable repair. They can also assess hidden damage that may not be immediately visible, such as internal water damage or weakened framing.
Knowing when to seek professional help is an important part of the repair process. In cases where damage continues to spread or repeated repairs are needed, professional intervention can provide a more permanent solution.
Repairing RV delamination requires careful assessment, proper materials, and patience throughout the process. With the right approach, it is possible to restore both the appearance and strength of the RV while preventing further deterioration.


