

If you want that showroom shine and buttery-smooth paint finish, simply washing your car won’t cut it. Even after a thorough clean, tiny contaminants like industrial fallout, tree sap, brake dust, and road grime can remain embedded in your paintwork. This is where a clay bar comes in – a simple but powerful tool for lifting stubborn impurities and restoring your car’s surface to its silky best. Whether you’re prepping your vehicle for a polish or just want it looking flawless, here’s how to clay bar your car safely and effectively.
What’s a Clay Bar?
A clay bar is a specially formulated resin compound designed to glide over your car’s paint and pick up bonded contaminants. It’s not abrasive like sandpaper – when used correctly, it’s perfectly safe for clear coat and painted surfaces. Professional detailers have long relied on this method to prep surfaces before waxing or ceramic coating. Now, with easy-to-use kits available from trusted sources like Detail Central, car enthusiasts can achieve pro-level results at home.
When Should You Use a Clay Bar?
If your paint feels rough to the touch after washing – like tiny bumps under your fingertips – it’s time to clay. This roughness means contaminants are embedded in the surface. Claying is ideal:
- Before polishing or waxing
- After long road trips
- Every 6–12 months for general maintenance
What You’ll Need
To clay bar your car safely, gather the following:
- A high-quality clay bar or clay mitt
- Lubricant (clay lube or a detailing spray)
- Microfibre towels
- Two buckets (one with soapy water, one for rinsing)
- Car wash soap and a wash mitt
How to Clay Bar Your Car Step-by-Step
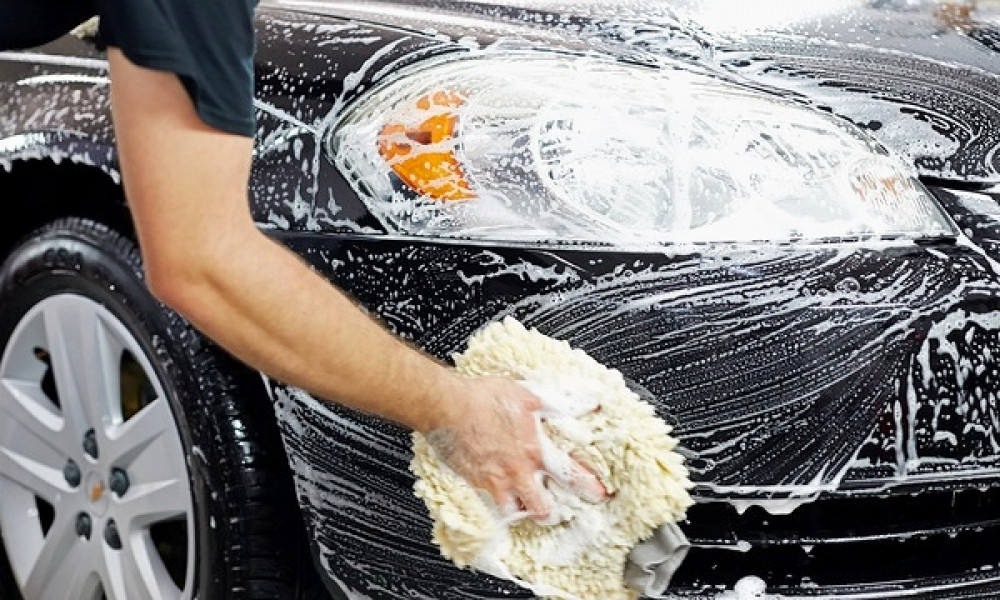
- Wash and Dry the Car Thoroughly: Start with a full wash to remove loose dirt and grime. Use the two-bucket method and pH-neutral car shampoo to avoid swirl marks. Rinse well and dry with a clean microfibre towel.
- Inspect and Cut the Clay Bar: Break the clay bar into manageable pieces (around the size of a credit card). This helps if you drop a piece – you can discard it without wasting the entire bar.
- Lubricate Generously: Spray the clay lubricant onto a small section of your car’s surface. Don’t skimp – lubrication is crucial to avoid marring the paint.
- Glide the Clay Bar Gently: Using light pressure, glide the clay bar back and forth in straight lines. You’ll feel resistance at first – as contaminants lift, the surface will become smoother. Never use circular motions or press hard.
- Wipe Clean and Inspect: After each section, wipe away residue with a microfibre towel and check for smoothness. If needed, repeat the process until the paint feels like glass.
- Knead and Flip the Clay: As the clay becomes dirty, knead it to expose a clean surface. Discard the clay if it becomes too contaminated.
- Repeat on the Entire Car: Work in small areas, reapplying lubricant each time. Don’t rush – thorough claying takes time but delivers stunning results.
Aftercare: Seal and Protect
Claying removes any existing wax or sealant, so it’s vital to follow up with paint protection. You can:
- Apply a high-quality wax
- Use a sealant
- Consider a ceramic coating for long-term shine and durability
This step enhances gloss and helps protect the freshly cleaned surface.
Common Mistakes to Avoid
- Claying a dirty car: Always wash first – claying over dirt can scratch the paint.
- Using too little lubricant: Dry clay will drag and damage the finish.
- Pressing too hard: The clay should glide – if it’s sticking, add more lube.
- Skipping protection: Always seal the paint after claying to prevent contamination.
Claying your car is a game-changer when it comes to surface preparation
It’s simple, satisfying, and incredibly effective when done properly – and with purpose-made products from detailing experts, you’ll have everything you need to safely restore your paint’s smoothness and shine. Once you feel the difference under your fingertips (and see the glossy reflection), you’ll never skip this step again.
